Apito quick start guide
Three paths to a live API. Shared rule: CLI and MCP stage drafts; only Console publishes.
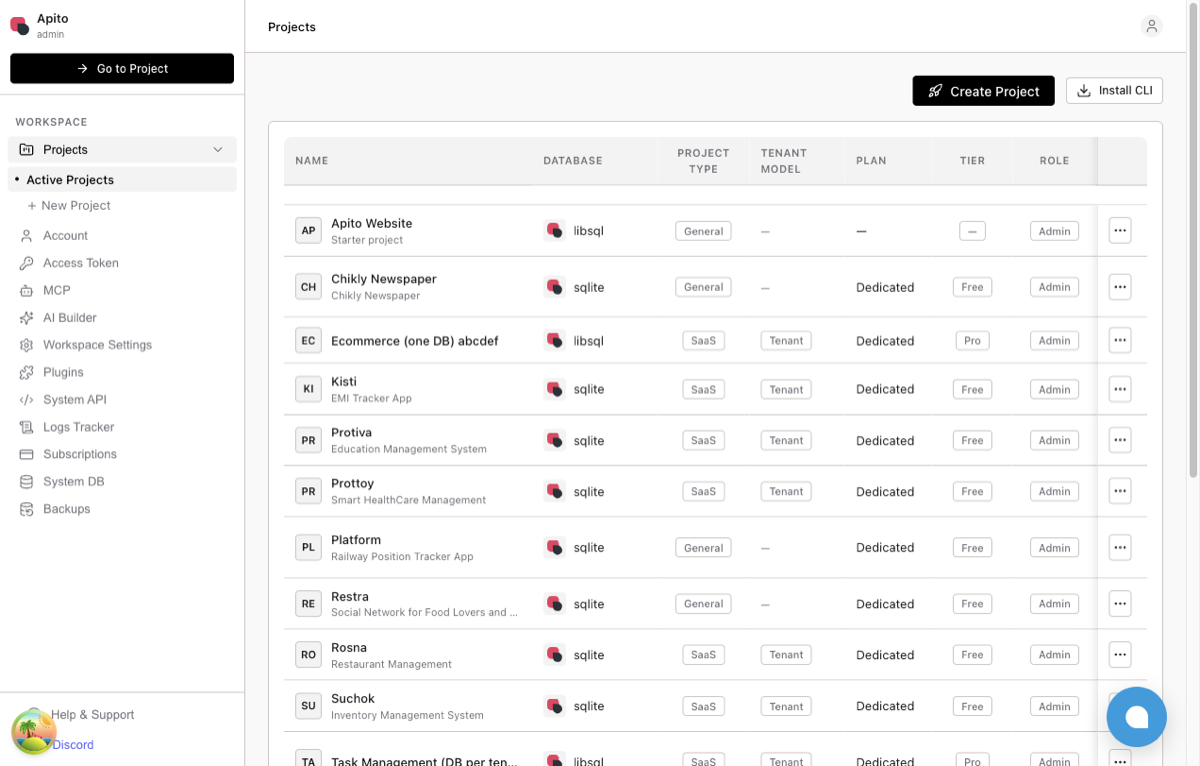
Console → Projects — create a blank project or open an existing one.
Path A — Blank project (Cloud or self-hosted)
- Sign in at app.apito.io (or local Console, often
:4000). - Create project — pick Free Cloud DB, Pro, or your self-hosted Engine account.
- Add models and fields under Models.
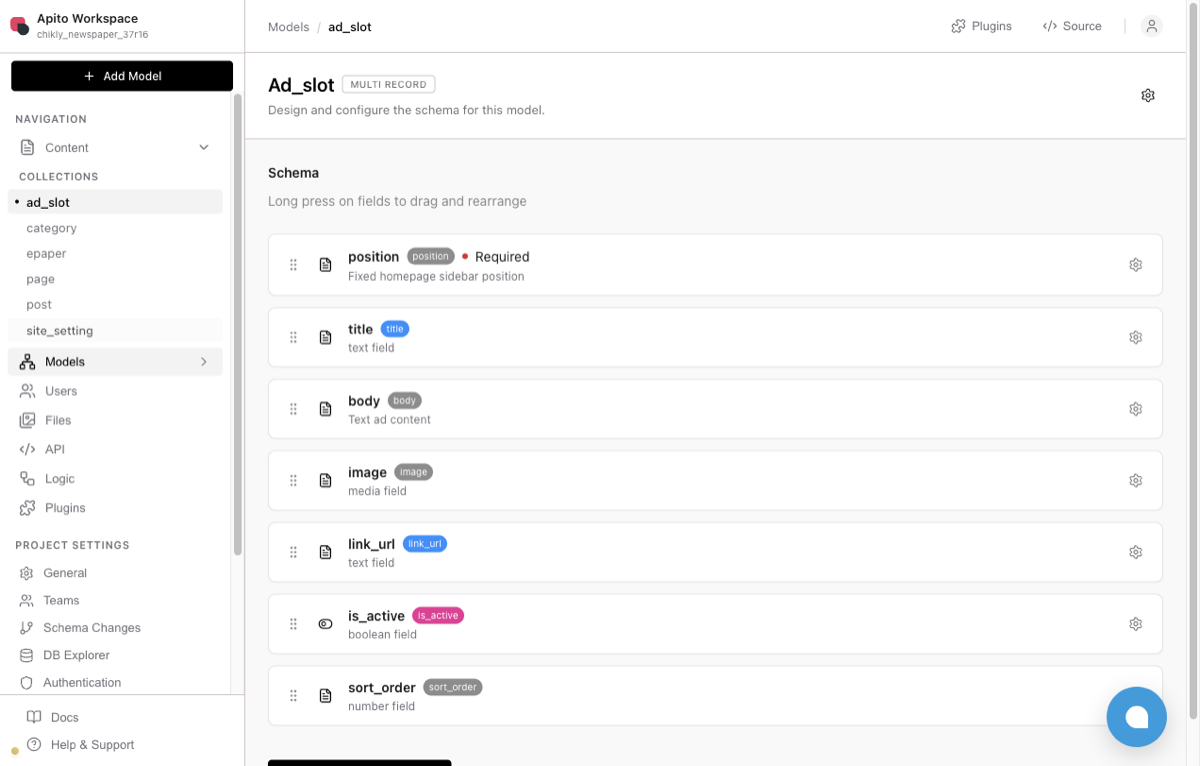
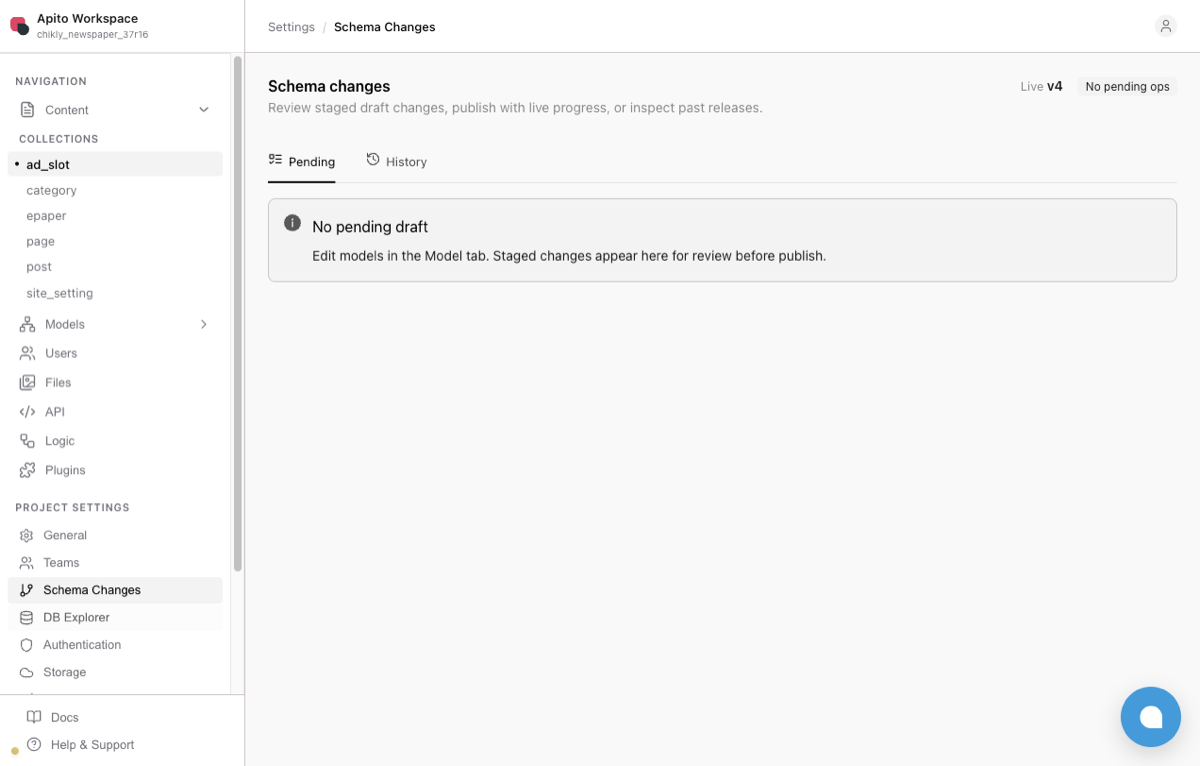
- Open Schema Changes → review the draft → Publish.
- Copy a project API key from project settings (sent as
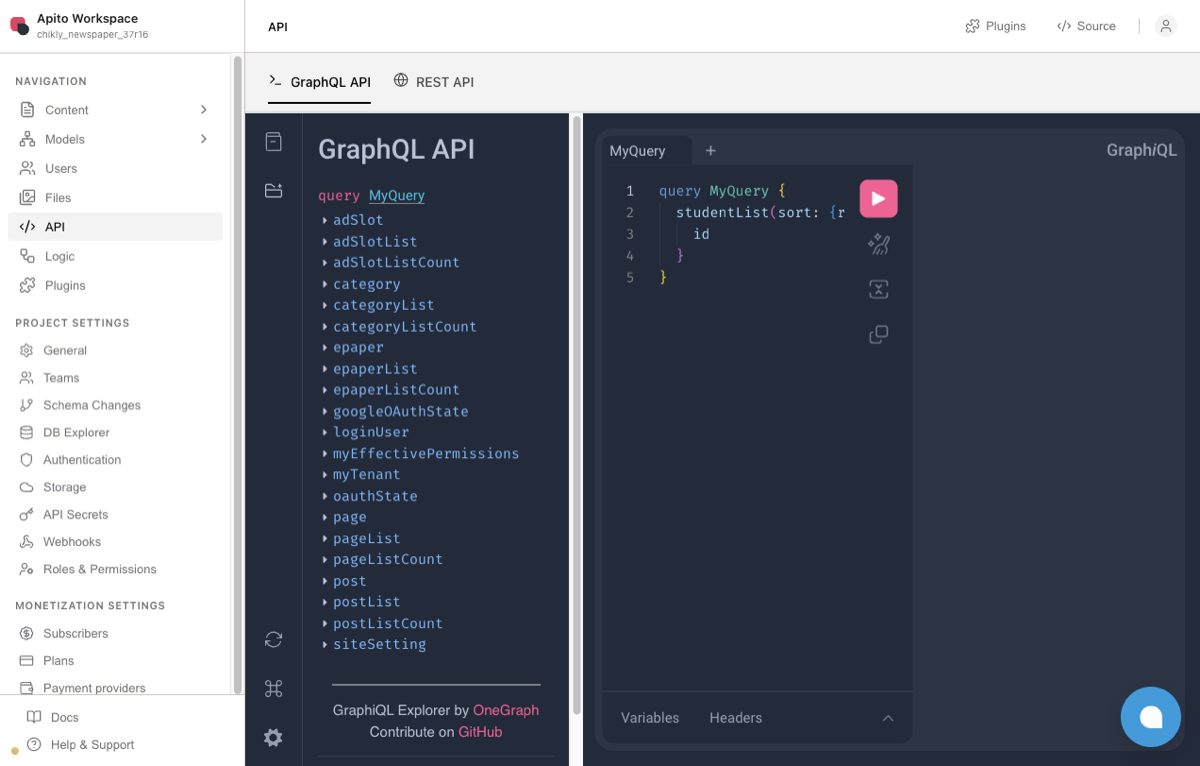
X-Apito-Keyfor legacy keys, or use a Bearerapt_…access token where your stack expects it — see JS SDK). - Call secured GraphQL from an Admin SDK, or try queries in API Explorer first.
Path B — Sync a Blueprint
Public schema packs live in apito-io/examples (no secrets).
git clone https://github.com/apito-io/examples.git
cd examples
Dry-run, then stage a draft:
apito sync --from filesystem --to <account> --type schema --dir blueprints/newspaper-cms --dry-run
apito sync --from filesystem --to <account> --type schema --dir blueprints/newspaper-cms --yes
Then in Console: Schema Changes → Publish. Content is not filesystem-synced — use each blueprint’s scripts/seed.mjs (or your own SDK seed) after publish.
Catalog: Blueprints.
Path C — Self-host Engine
Follow Self-hosting, register a CLI account against your Engine URL, then use Path A or B on that account.
Pick an SDK
| Stack | Start here |
|---|---|
| Node / Astro / React | JavaScript |
| Go services | Go |
| Mobile | Flutter |
| PHP / Python / Java | Raw GraphQL & REST |
Mental model
Idea → Schema → Review → Publish → API Ready
Deep dive: Introduction · System vs secured GraphQL.